I have been using Apache Camel for dataflow for a longtime. Apache Camel is the ultra clean way to code data flow with a fantastic DSL, and an ever endless list of components to manage your data flow.
This could be the best possible way of making a simple API that every developper understands, and makes your data flow as clean and reusable as possible.
Now, strong with your newly designed flow, you take your whole data flow to a customer and they ask you to explain what the designed flow is doing. You start opening your favorite text editor, show them a few lines of code, and see each face just desintegrte in front of you, while every one in the room is just waiting for that coffee break to get closer. Even just reading a log file, and parsing an output just seems to come out of a different planet for a non technical person that comes to your meeting for the first time. So in the case you eventually have to explain your work to non-technical people, nowadays, a data flow system with a graphical representation of the flow is a must.
Here comes Apache Nifi.
Nifi in itself is not that much of a new project anymore, it has been around for the last 2 years already, but it sure builds on strong foundations from similar data flow systems. But what does it do?
Let’s reuse the project’s bang-on one sentence:
“Apache NiFi supports powerful and scalable directed graphs of data routing, transformation, and system mediation logic.”
Basically, it can route your data from any streaming source to any data store, using the same graphical view to design, run, and monitor your flows, with a complete transaction overview, and integrated version controlled flows. Of course, each flow is reusable, can also be templated, and can be combined with each others. Lastly, but not last, Nifi shines just as well, with small latency streaming flows as heavy weight batch data transfers
Quite quickly, you would eventually be able to draw flows like this:
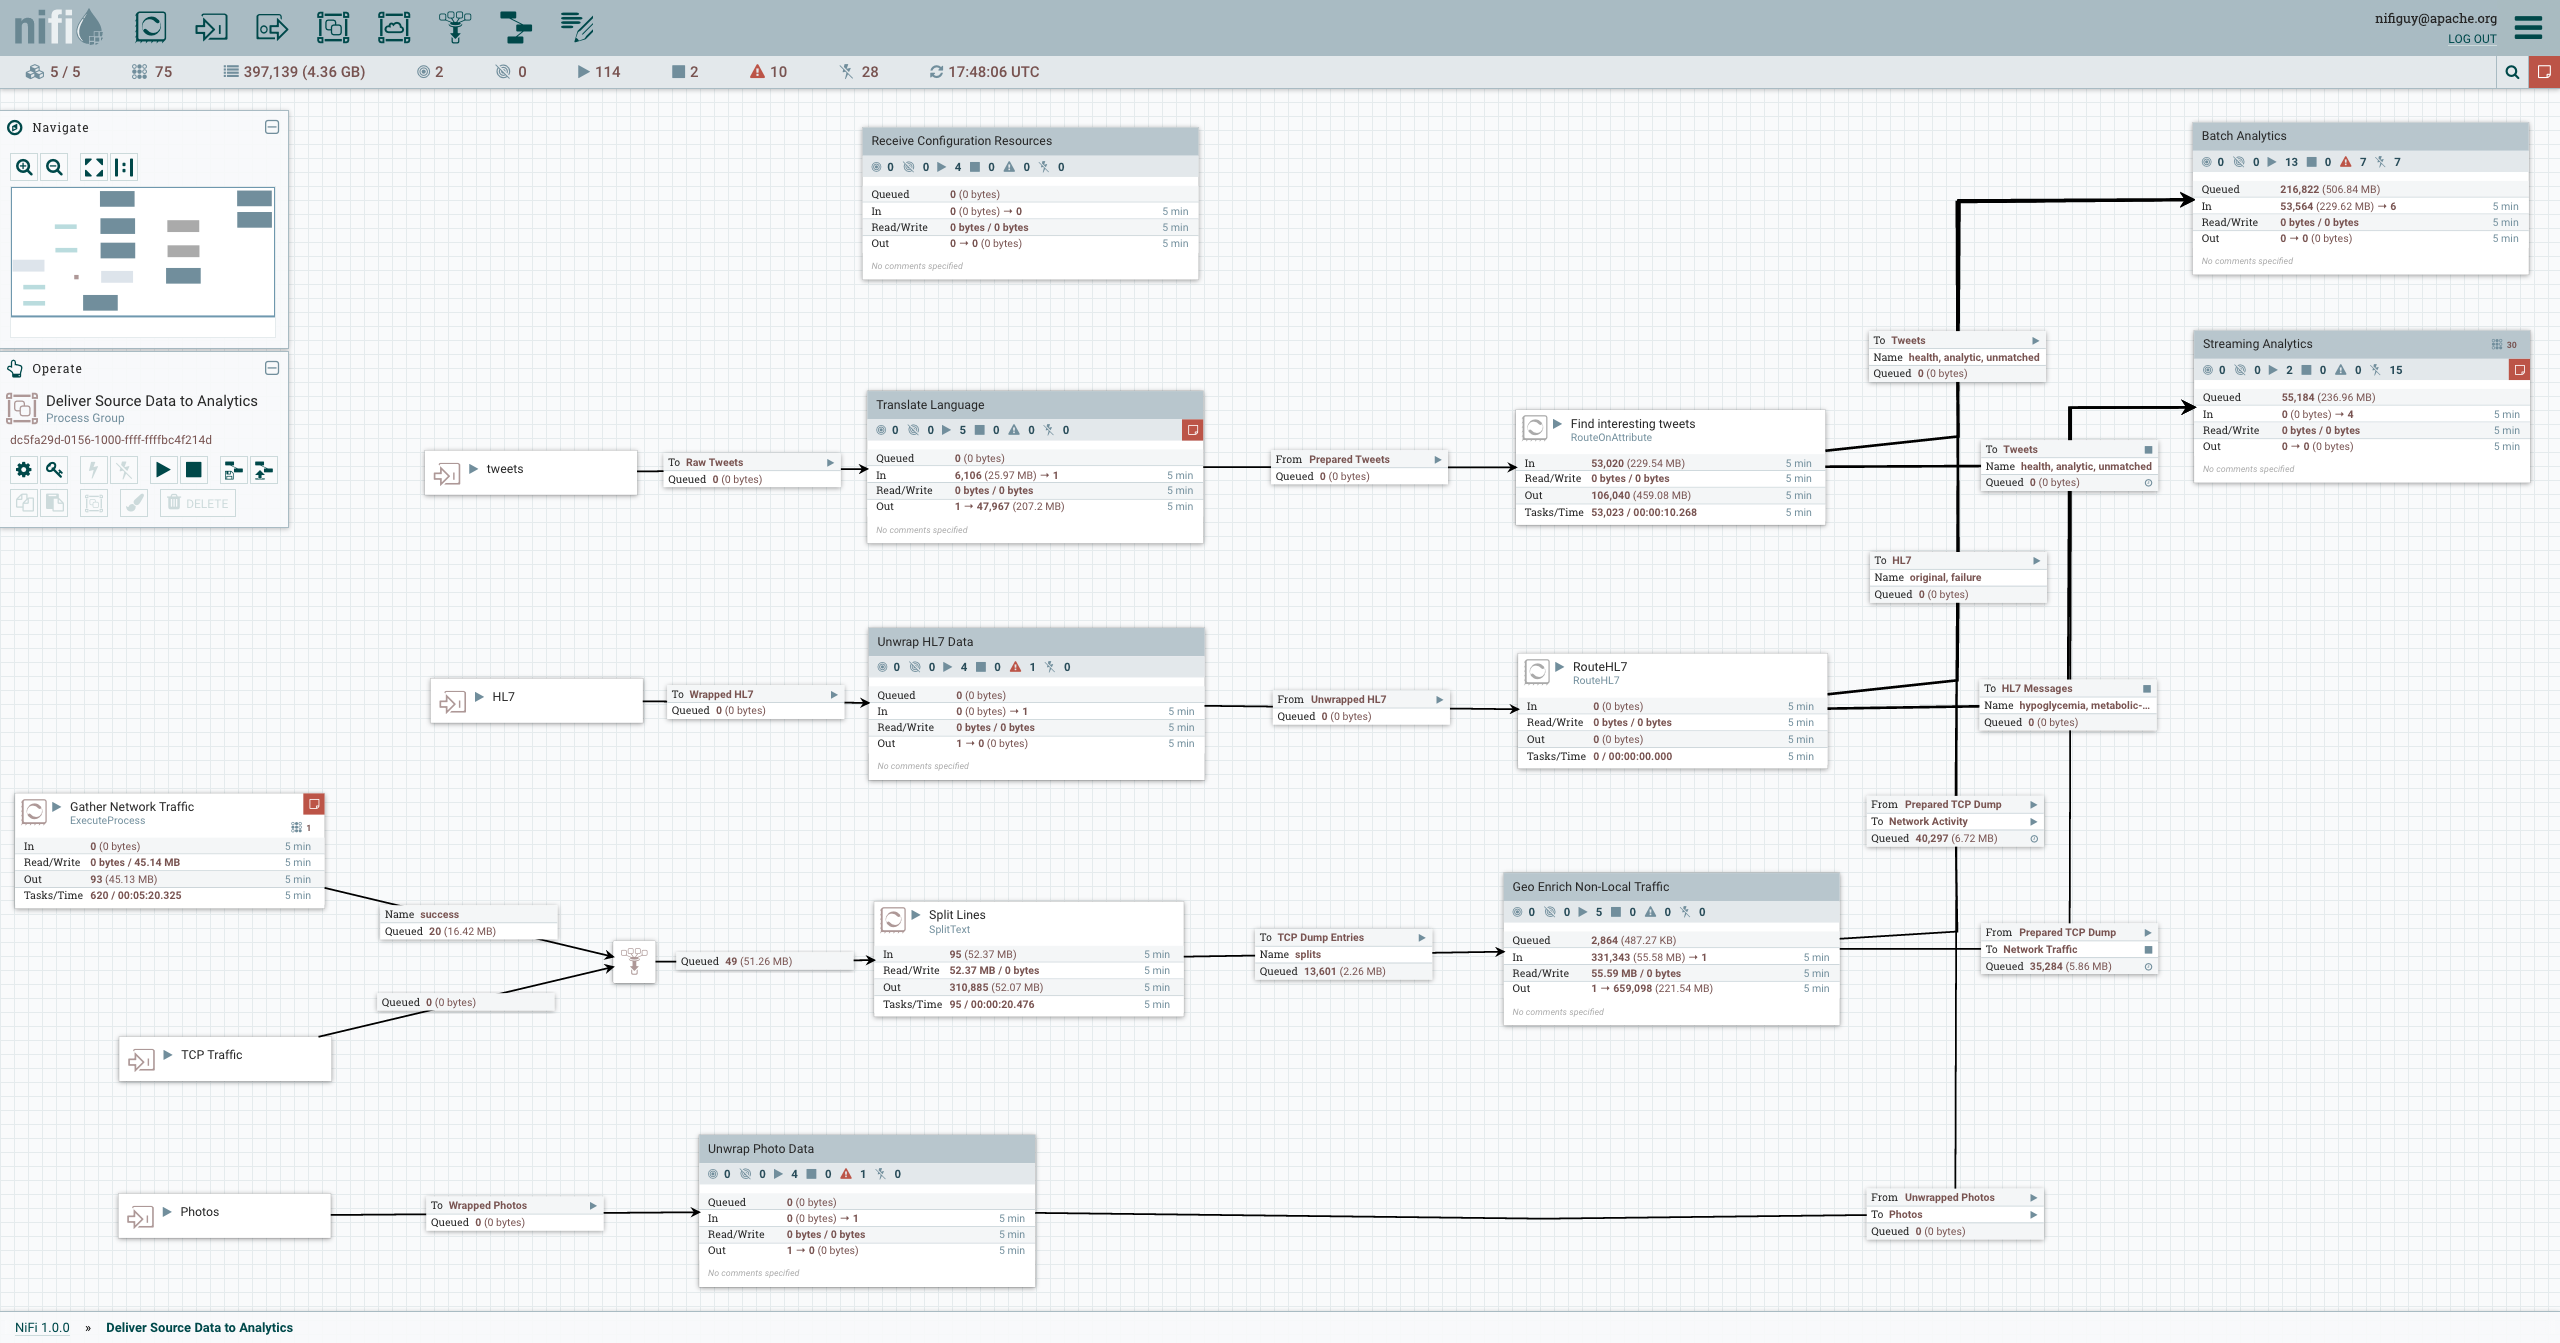
In this post, we will see how to write a simple flow, that:
- reads data from a file
- outputs data to mongodb
- write a custom processor in Clojure
Blazing fast setup
There are docker images for nifi, but we will start the good old fashioned way of download a zip file with pretty much all needed to start. Head to the download section and retrieve the zip or tar.gz archive.
The content of the archive is rather compact looking as seen in the screenshot below.
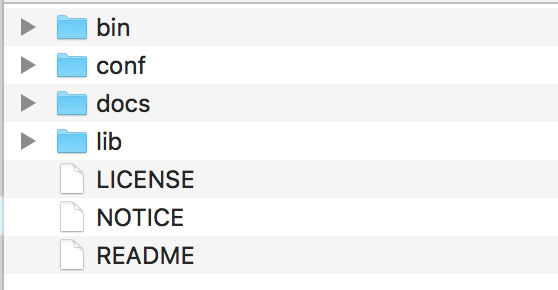
Supposing you have a java runtime installed, you can get nifi running by using the bin/nifi.sh script (on linux or mac) or bin/run-nifi.bat for windows.
The service is a bit slow to start, so do not hurry too fast before reaching http://localhost:8080/nifi/
Once you have reached the page, you would see an empty workspace as the one below:
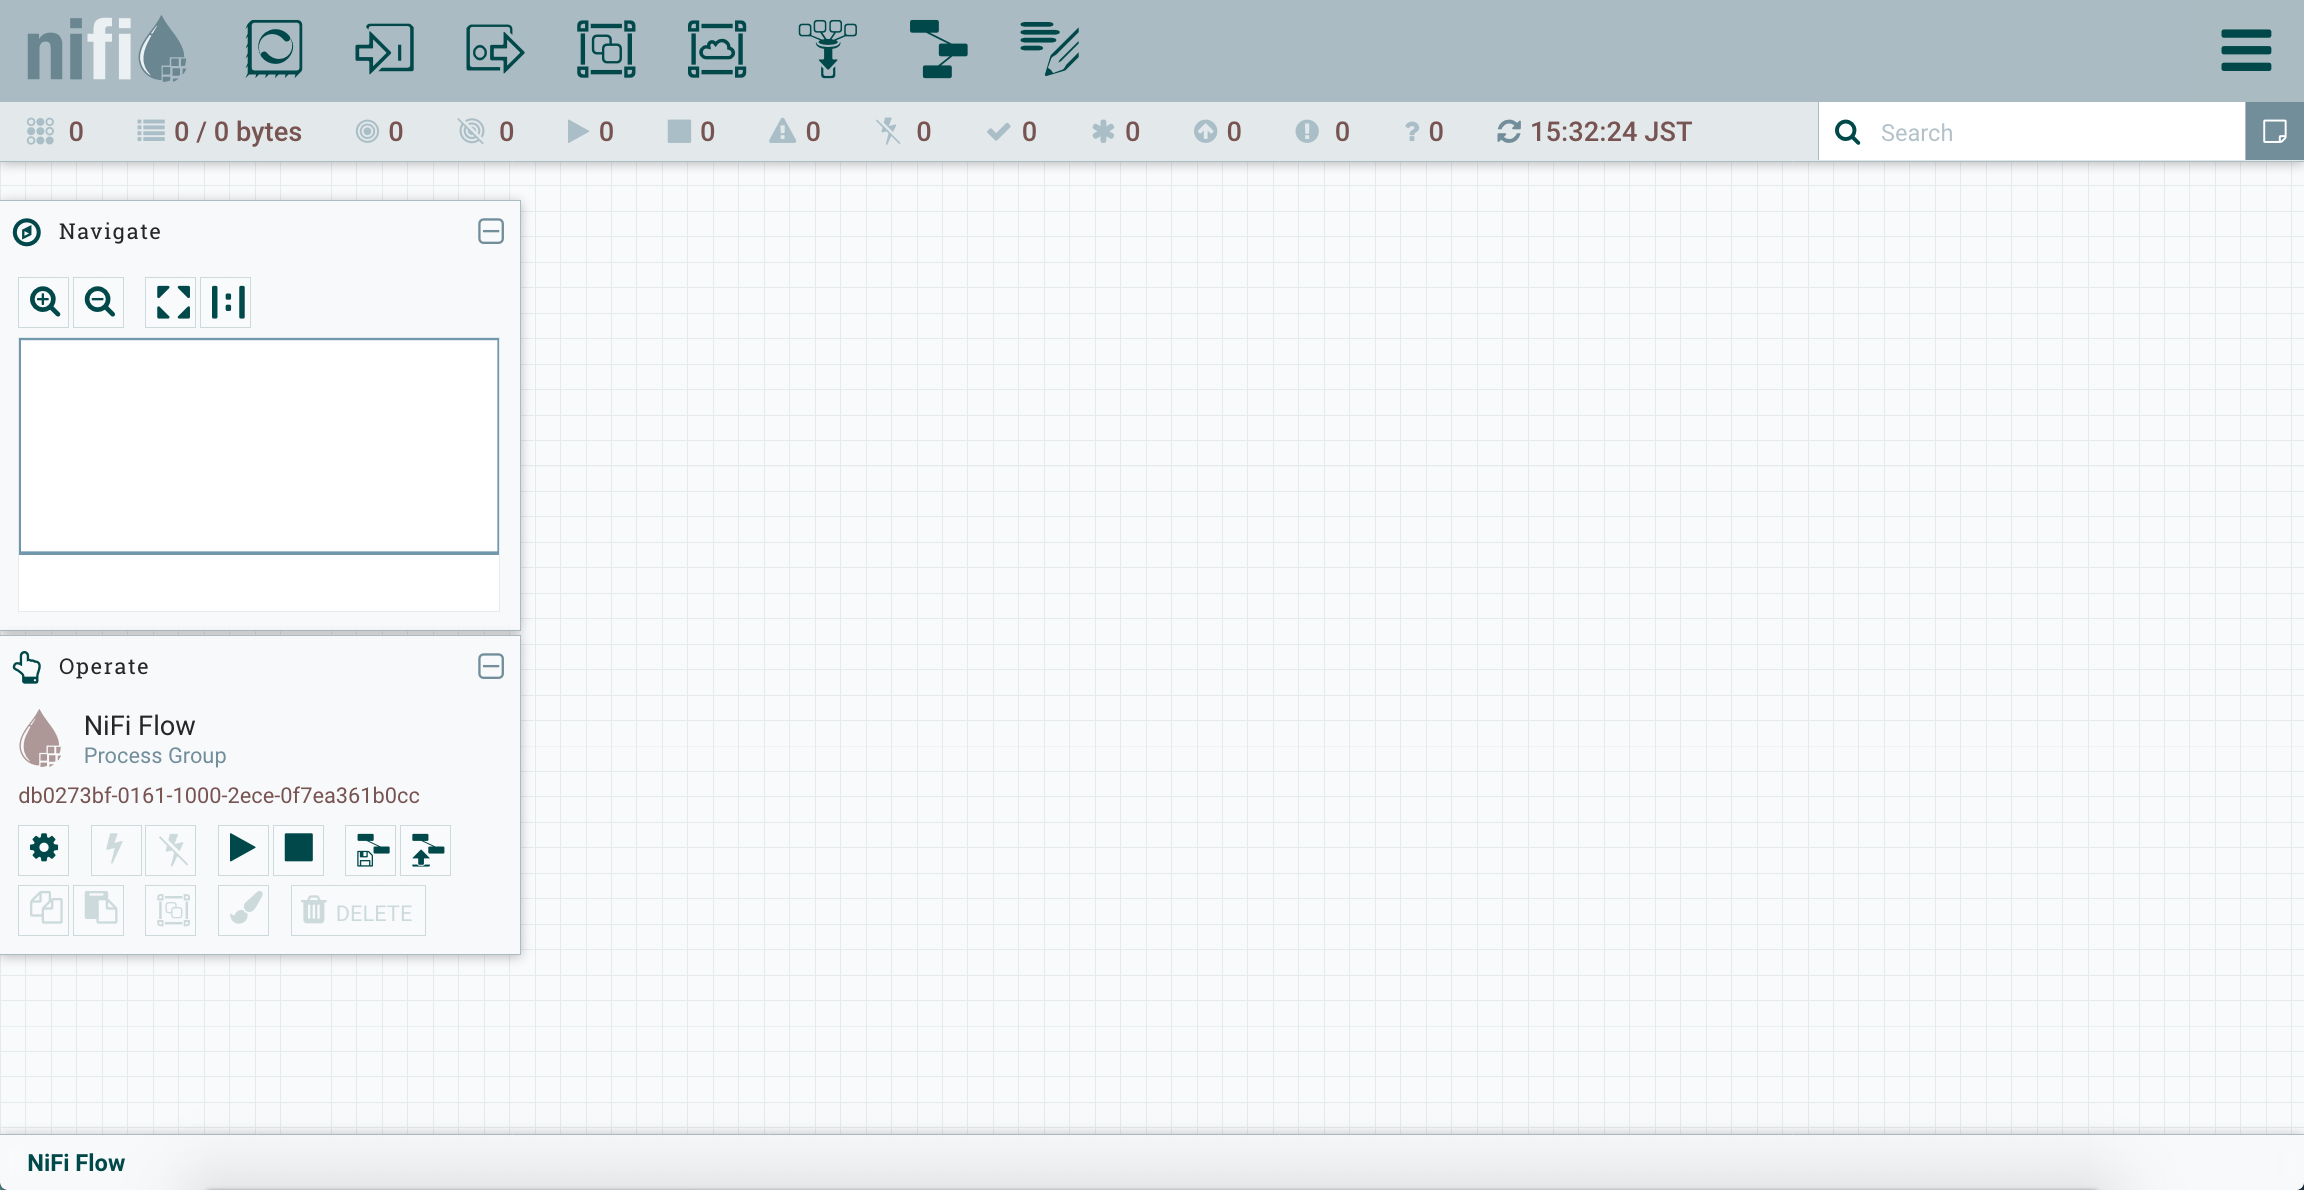
We will now create a processor that reads content from a file.
Setting up your first processor
You can the processor widget available on the top left of the bar.
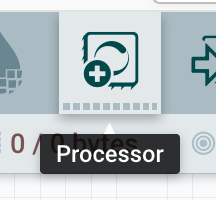
You can click and perform a drag and drop of it on the main grid. This will open the dialog to select which processor to insert in the flow.
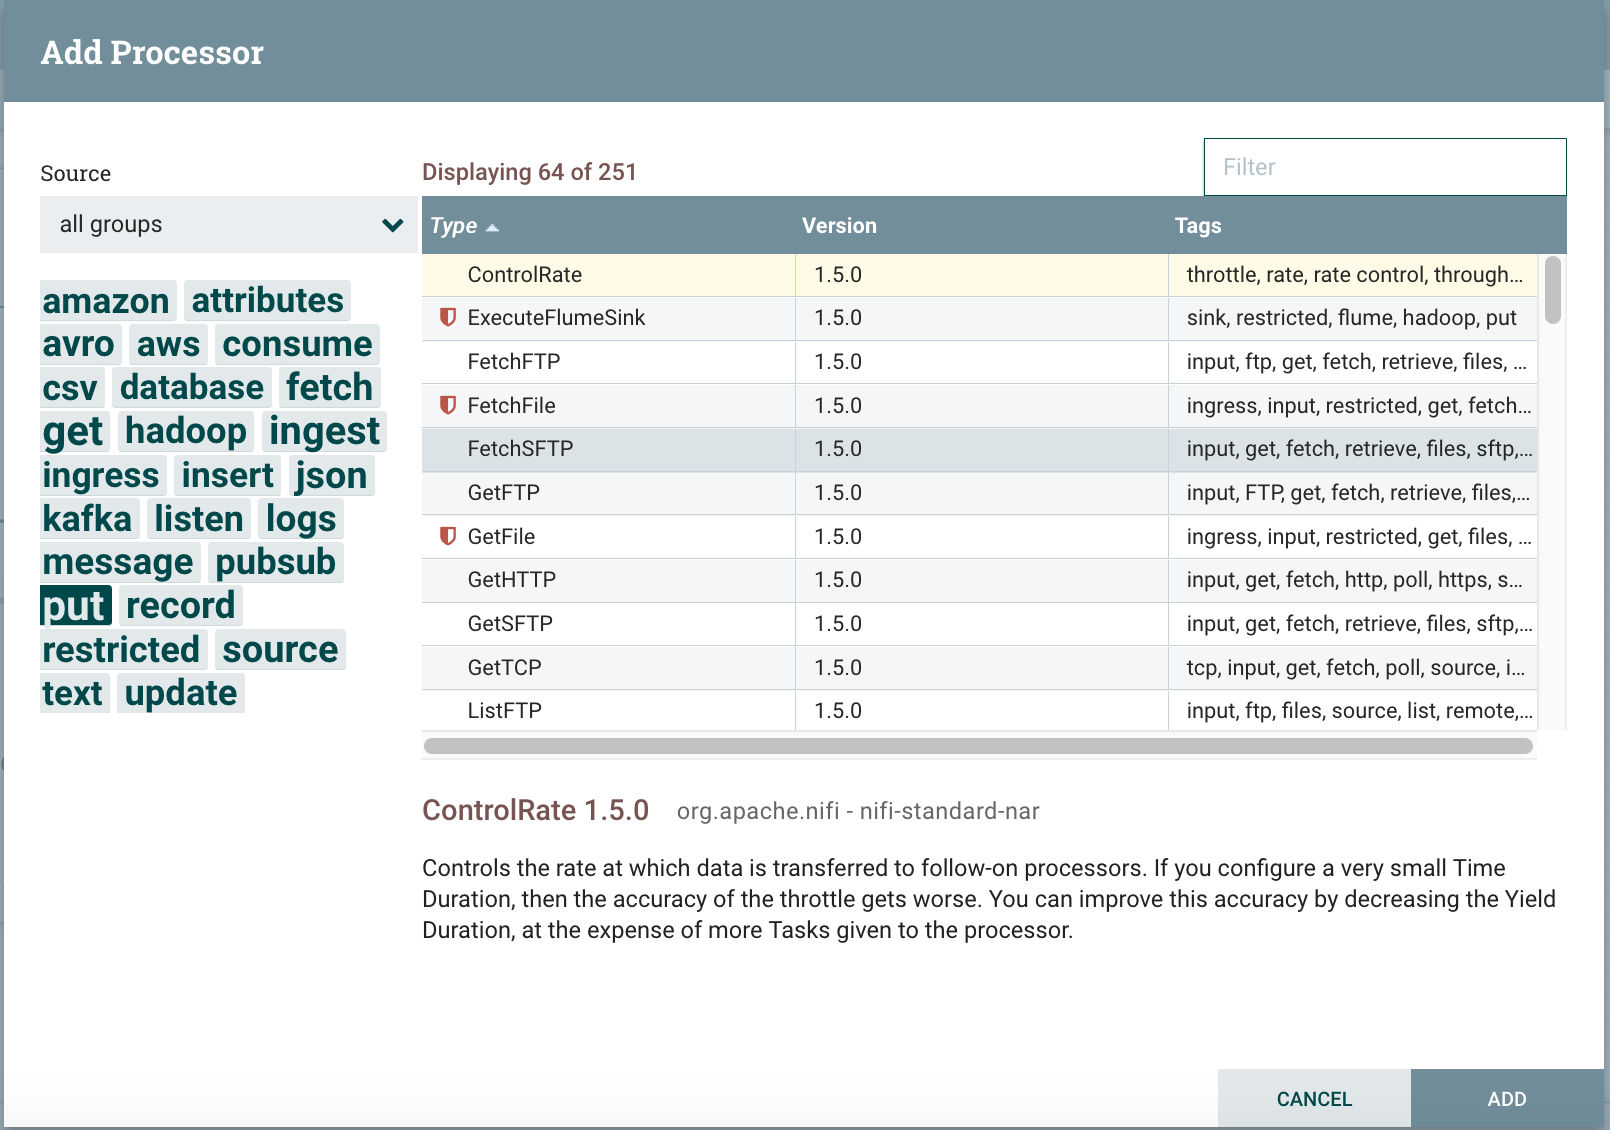
You can click around to see all the different processors out of the box. (and there is a …. lot of them!). For now to read a file we will select the one named GetFile.
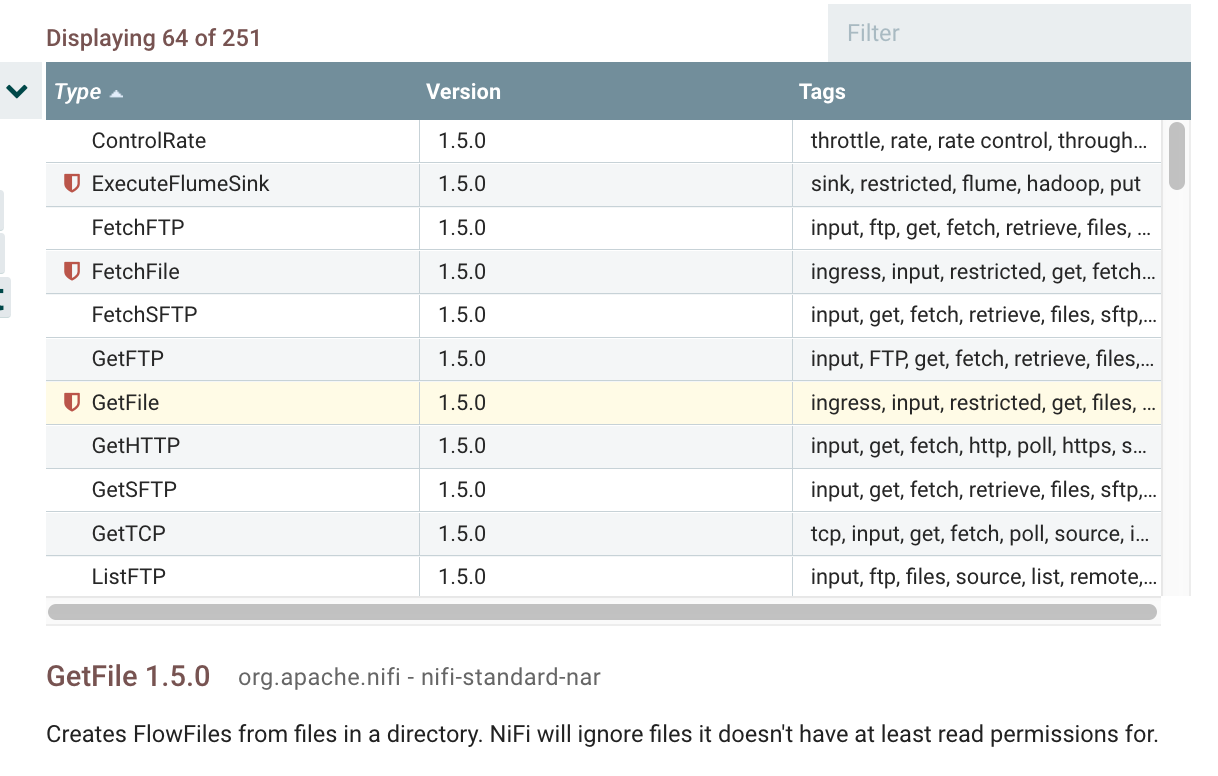
Click once gives you an extended description of the processor, and double click insert the processor inside the worksheet.
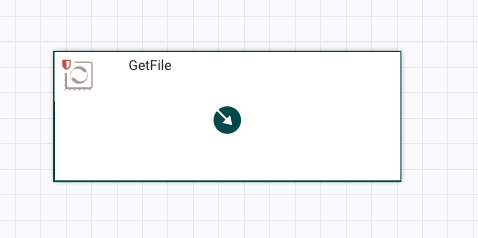
The processor is inserted, now let’s configure its settings by double clicking on it. The settings we are interested in are in the PROPERTIES tab.
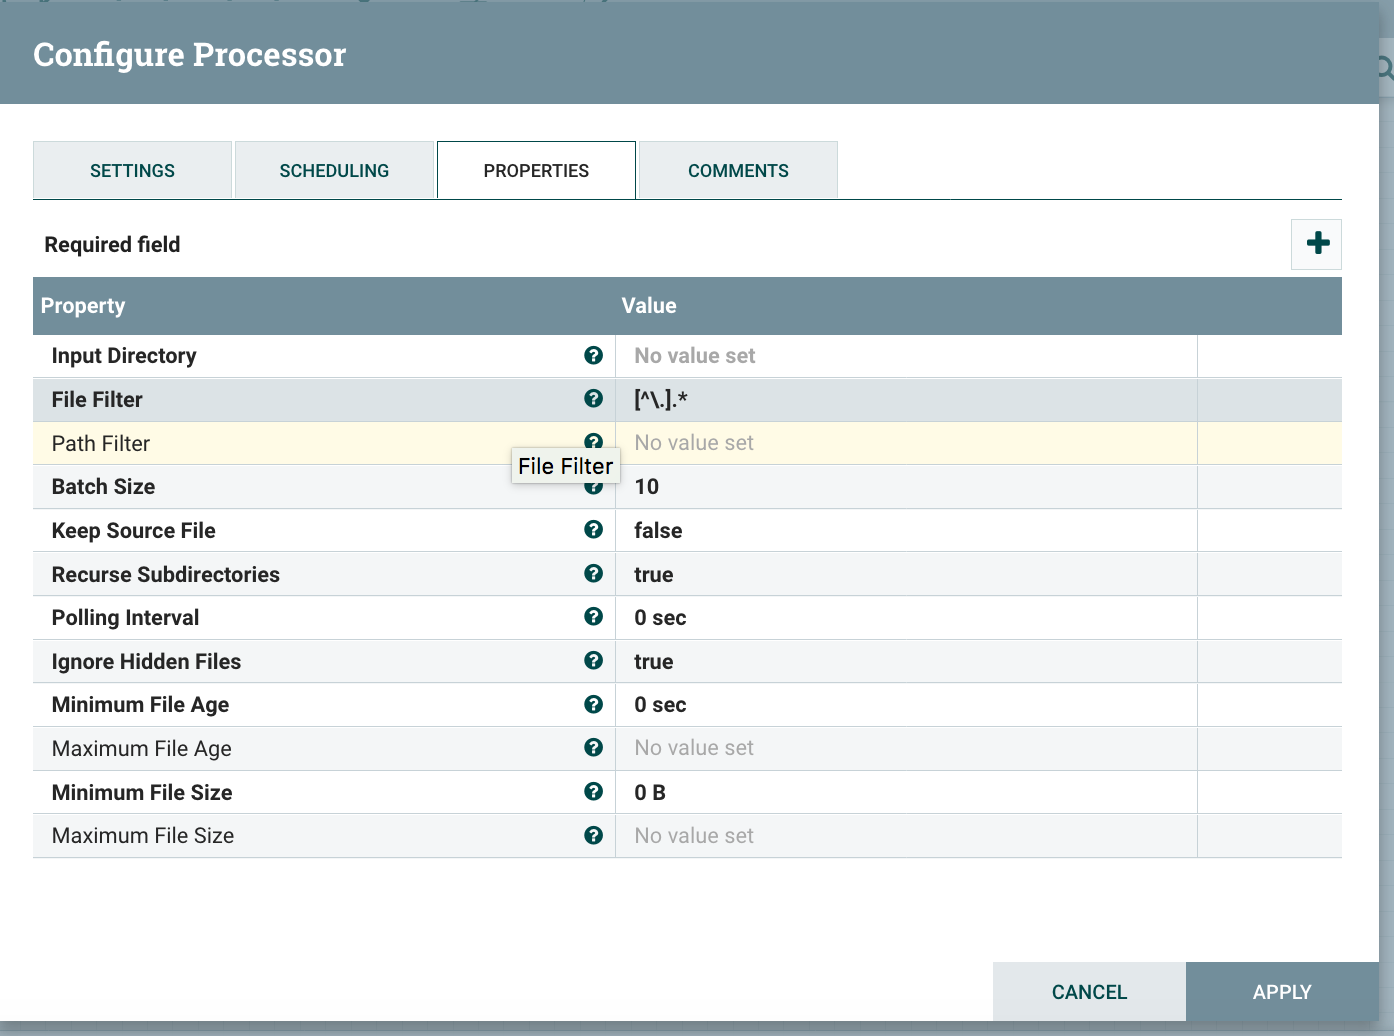
Let’s specify the input directory. You can use the path from your local machine here, but to make this reusable we will make use of a variable here. (we will see how to set up this variable right after). Click on input directory “Value” cell to open the dialog below.
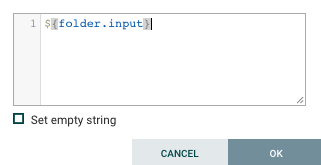
Then OK.
In the Settings tab, there is one more step to do, is to tell the processor to finish normally in case it is a success, even though we have not defined any other processor to pick up the data (yet, one thing at a time). For that, let’s click on the checkbox near the success on the right hand side.

The processor is set up. Now simply click on APPLY and you are back to the main workspace.
Setting up a flow variable
Now to specify the variable, the one that will be used in the processor that was just defined, you would right click on the workspace, to show the contextual menu below.
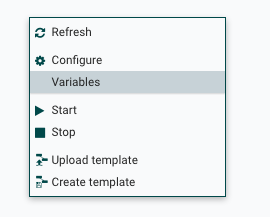
Then, clicking on the variables entry, to set up a new variable click on the +
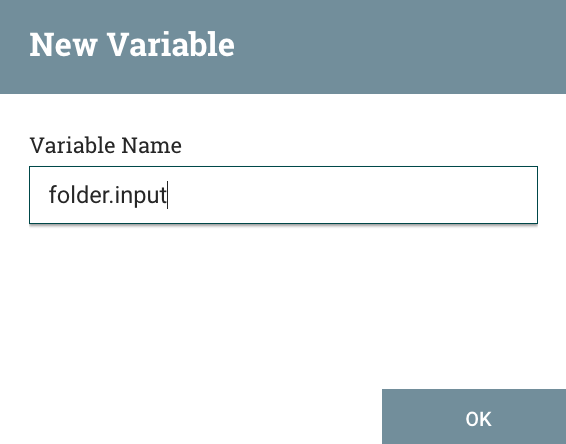
And enter the folder.input variable, with a path specific to your machine.

That’s it for a flow variable, note that those variables can be used and reused all around the data flow.
Starting the Processor
The basics are in place, you can right click anywhere in the worksheet, and in the menu press start.
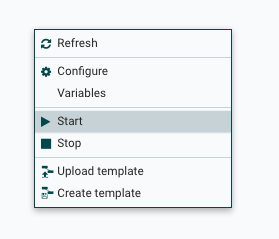
At this stage, the static display is slightly out of sync so a quick page refresh will show the processor is running. (menu bar)

Let’s start playing with it.
Inserting data
Inserting data on linux or mac can be done with a simple echo command on the command line. On windows, you could open a text editor and save the file in the folder that was defined as the folder.input flow variable.
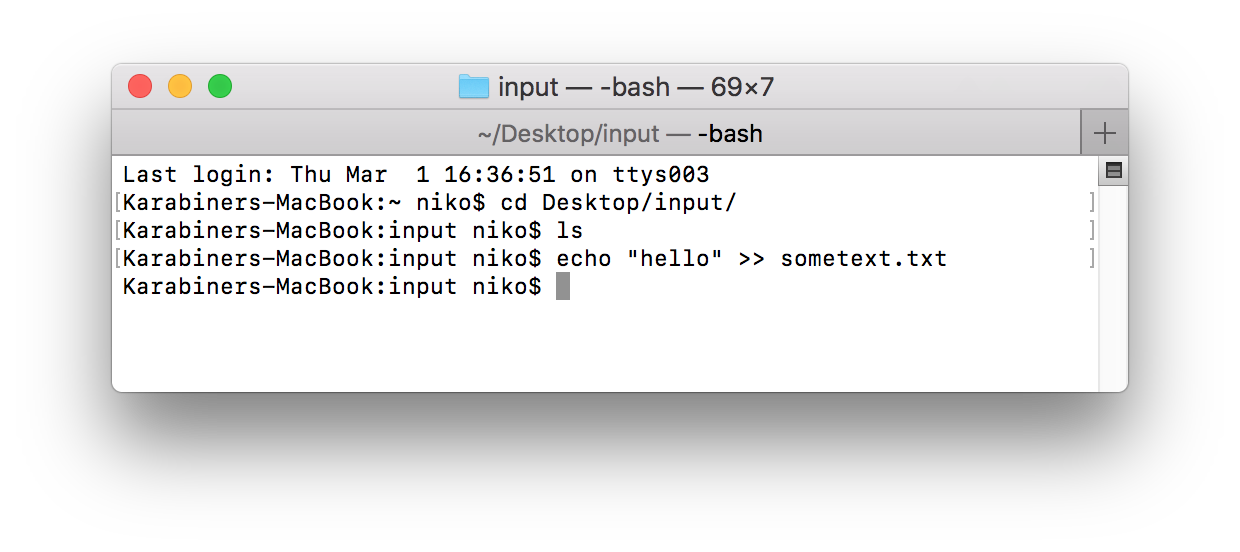
The file actually disappeared almost immediately!
Where is the data gone ?
Actually, the file has already been processed, and since there is only one processor in our flow right now, the file was removed and simply disappeared.
To find out what happened to the data we can follow the data flow using Nifi’s data tracing feature. This can be accessed from top right menu and selecting data provenance. Note that this applies to the data flow of the whole worksheet.
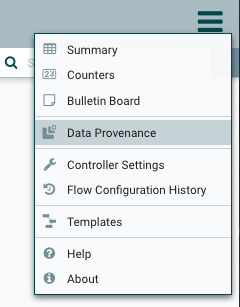
That opens up a dialog with the list of all the data passing in the flow.
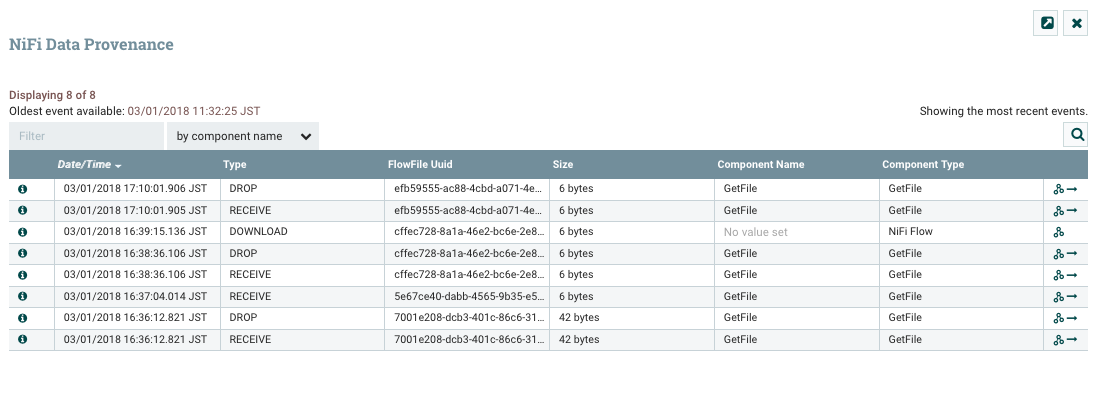
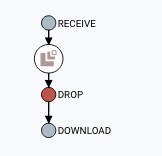
The show lineage button on the far right, shows the progression of the data through the various step of the data flow.
We can also view the content of the message that was going through he flow, at any step by double clicking on the flow step. This opens a familiar looking dialog.
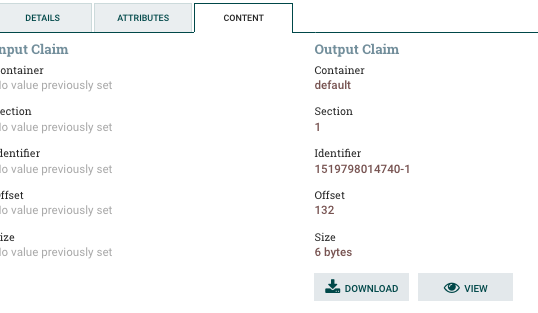
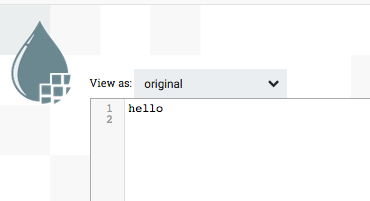
From there you can click on the download or view button to see the content of the data that went through that step. hello !
Insert an output processor.
To make it slightly more interesting, let’s see how to move the data from one processor to another one. This time the processor will output the data it receives to the file system.
The processor we will be using is the PutFile, that you can find in the dialog to insert a new processor as done previously.

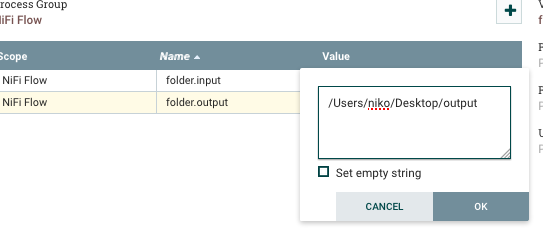
We will use and define a new flow variable folder.output and use that in the settings of the processor.
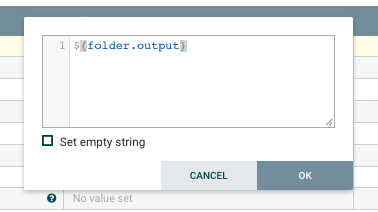
And do not forget to define the variable itself.
Connecting the processors
Just like most of the drag and drop data flow systems nowadays, you can connect two processors by simply clicking on one and going all the way to the other processor. A new dialog appears.
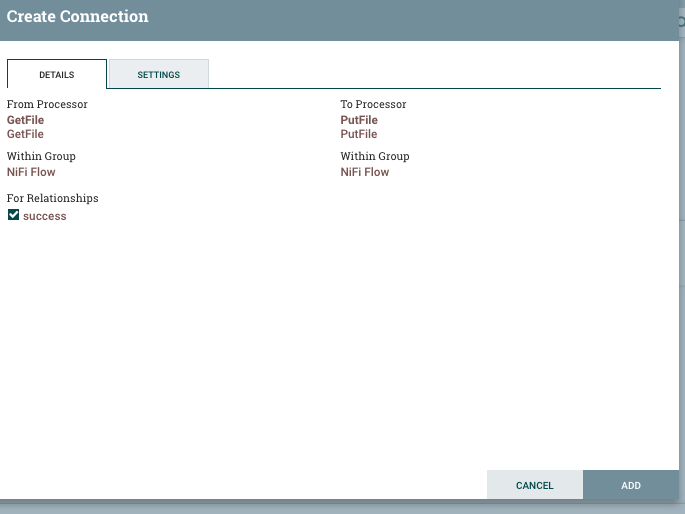
At this stage, clicking on ADD without changing any of the settings is suggested. Now the two processors are linked as seen below.

Starting the second processor.
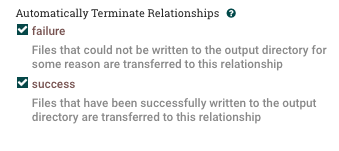
Before starting the second processor make sure to get the processor to finish properly by ticking both the failure and success checkboxes.
Now, you can start the non-started processor using the contextual menu of the worksheet as before.
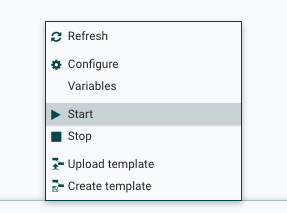
And see the number of started processors increasing.

Piping data from one folder to the other
With the two processors ready we can now insert sometext again in the input folder, the source folder for the GetFile processor.
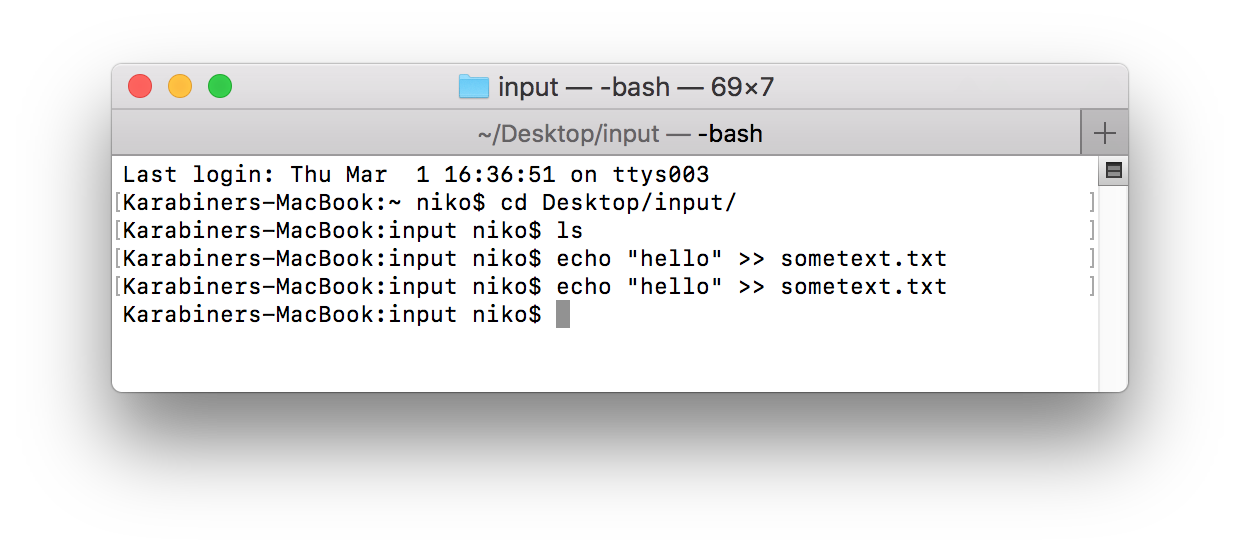
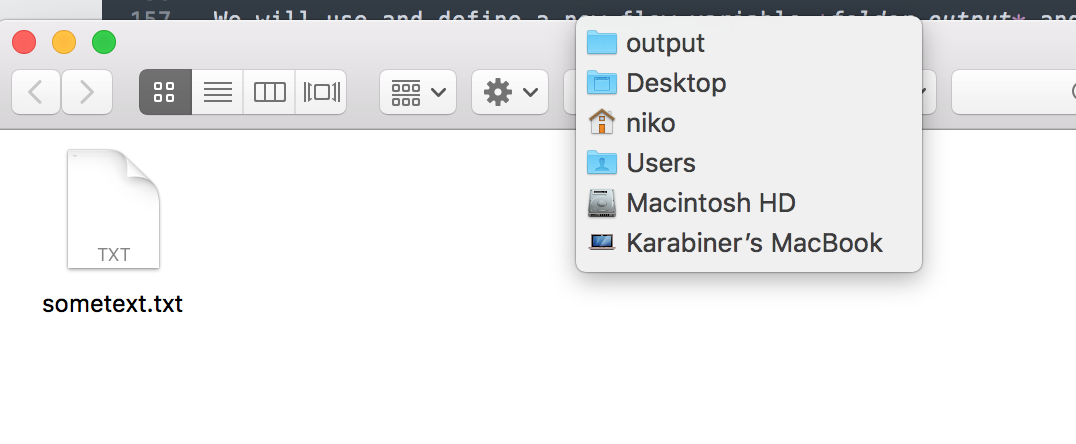
The file disappears again quite immediately, and looking in the ${folder.output} folder, you can see the file has been piped there !!
Fantastic .. what’s next ?
Playing with MongoDB
Now that we are strong of a text file to text file, let’s see how to insert that data to mongodb. Yes, I love mongodb.
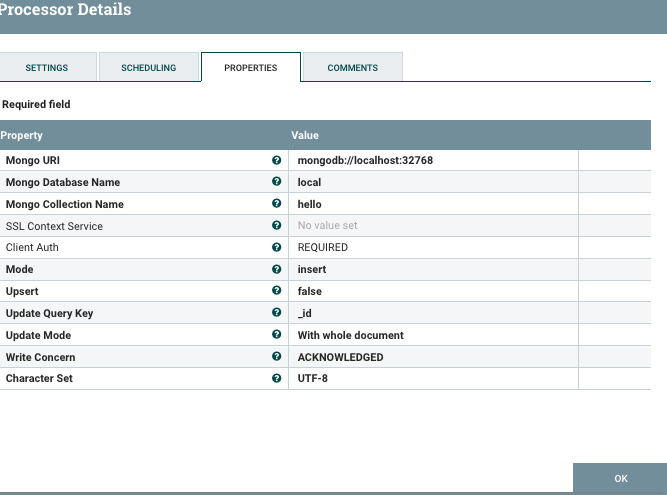
We suppose here there is a local mongodb instance running on port 32768.
The new processor to insert is in a similar fashion to PutFile named PutMongo, and the settings are quite relaxing.
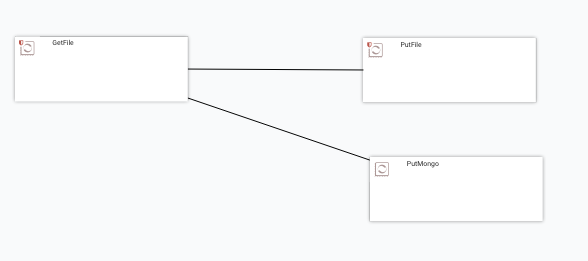
We also create a quick link between the GetFile processor and the new PutMongo processor, as shown below:
By default, mongodb only accepts JSON entries, so the new text we will send to the data flow will contain json data.
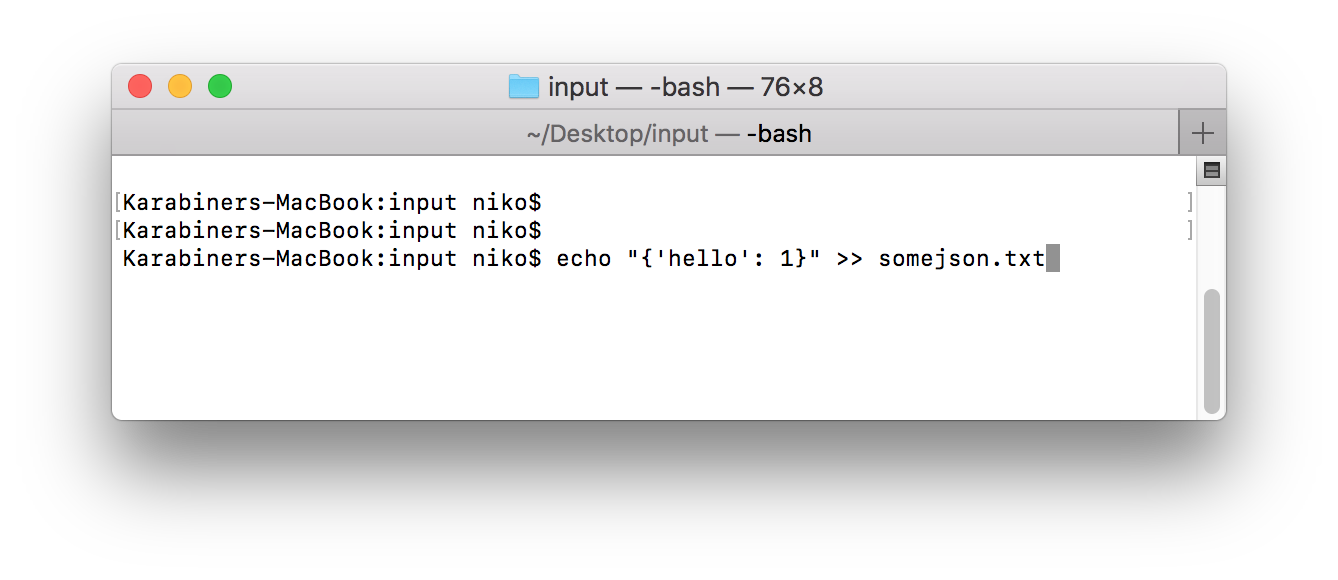
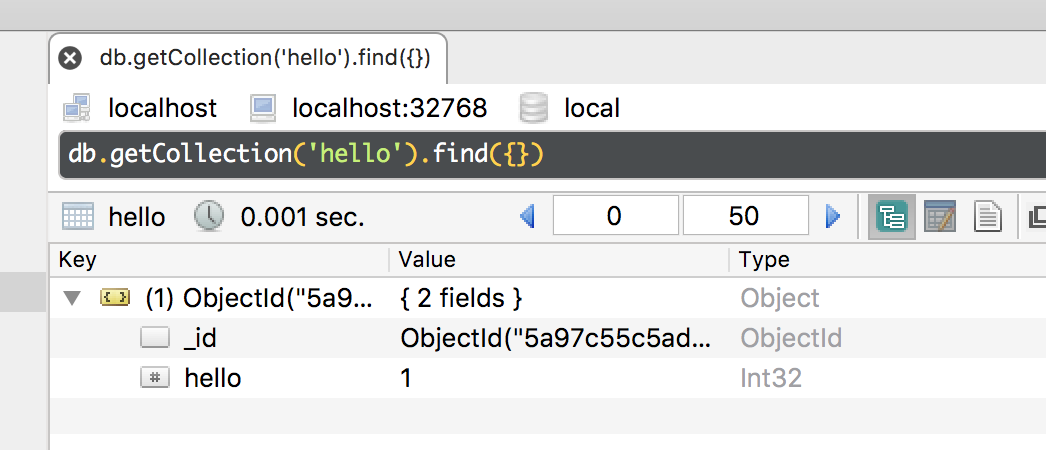
The data inserted flows quite quickly through, and now we can query the mongodb collection and see a new entry has been inserted:
Nice !
Adding some Clojure to this post
Without going through all the nasty details for now, you can also create your own processors using Scripting. The Processor to use is named ExecuteScript.
Most of the major JVM languages can be used for scripting:
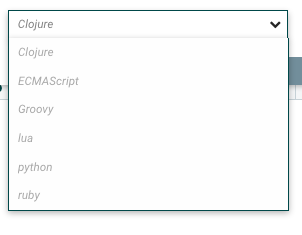
And here we go with a quick entry for Clojure.
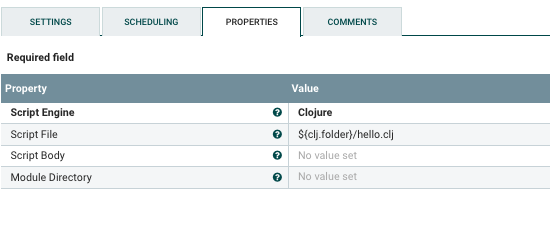
The script itself will be strored in a hello.clj located in the location of your choice.
You can pretty much do anything using the Nifi API. The two classes you should know by heart are:
hello.clj receives a flow element from the session object. The session object itself is a global reference passed to the script.
The rest is mostly writing bytes to the flow itself, via what is called a flow file, which contain the data of the data flow at the ExecuteScript processor step.
;
; HELPERS
;

(defn output-stream-callback [flow]
  (reify OutputStreamCallback
    (process [this outputStream]
      (.write outputStream
        (.getBytes (str "i have seen clojure♪"))))))

(defn put-sample-content[flow]
  (.write session flow (output-stream-callback flow)))

(defn success-transfer [flow]
  (.transfer session flow REL_SUCCESS))

;
; MAIN
;
(let [flowFile (.get session)]
  (-> flowFile
      put-sample-content
      success-transfer))
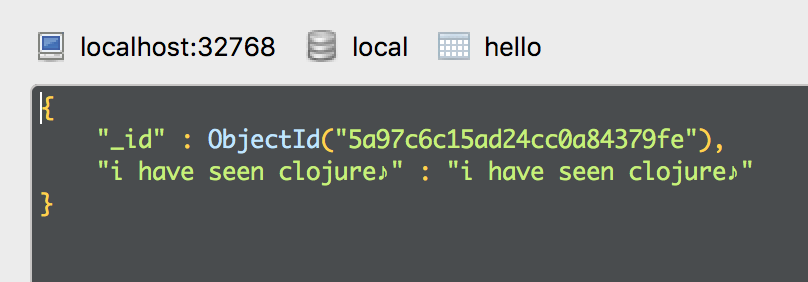
Now piping data makes some new data being inserted into mongodb. This time coming from the Clojure scripting.
Summary
In this rather long blog post, you have seen how to:
- install nifi
- create a first processor reading some data from a file
- create a second processor writing data to a file
- create a processor that can insert data in a mongodb collection
- write your processor in Clojure, using the Nifi API.
Sweet. Now’s your time to explore the Nifi processors and create your own flows!