Using OpenCV via a Jupyter notebook running a Java kernel
Most of the time, when you have an idea, it’s nice to be ready and setup in seconds and have the tools at hand. While working on Origami (OpenCV Clojure wrapper) it is always a challenge to make it easy to pick up the library and make it run every where.
While talking about Java while focusing on Clojure is always the elephant in the room, I find the ecosystem to be on-par even above other languages. It. just. works.
So of course in Clojure we’ve been having a REPL, (Read-Eval-Print-Loop, or for the newbies writing code one line at a time) for the last hundred years, and we love to brag about it, but Java has been picking up on this and now has its own bundle with the Java Development Kit.
This leads to being able to plug-in a jupyter kernel for java, meaning we can execute code cell by cell, which is quite convenient when doing photo processing.
The instructions to install the java kernel are pretty simple:
- download a release
- run
python3 install.pywith the same python used for jupyter.
We’ll be having a maven archetype pretty soon for Origami on a pure Java, but for now you’ll have to run:
lein new jvm-opencv hellocv-j
where hellocv-j is the name of your new project.
Content of the generated project structure is quite simple:
$ tree
.
├── build.gradle
├── java
│   └── HelloCv.java
├── java_sample.ipynb
├── marcel.jpg
├── pom.xml
├── project.clj
└── settings.gradle

1 directory, 7 files
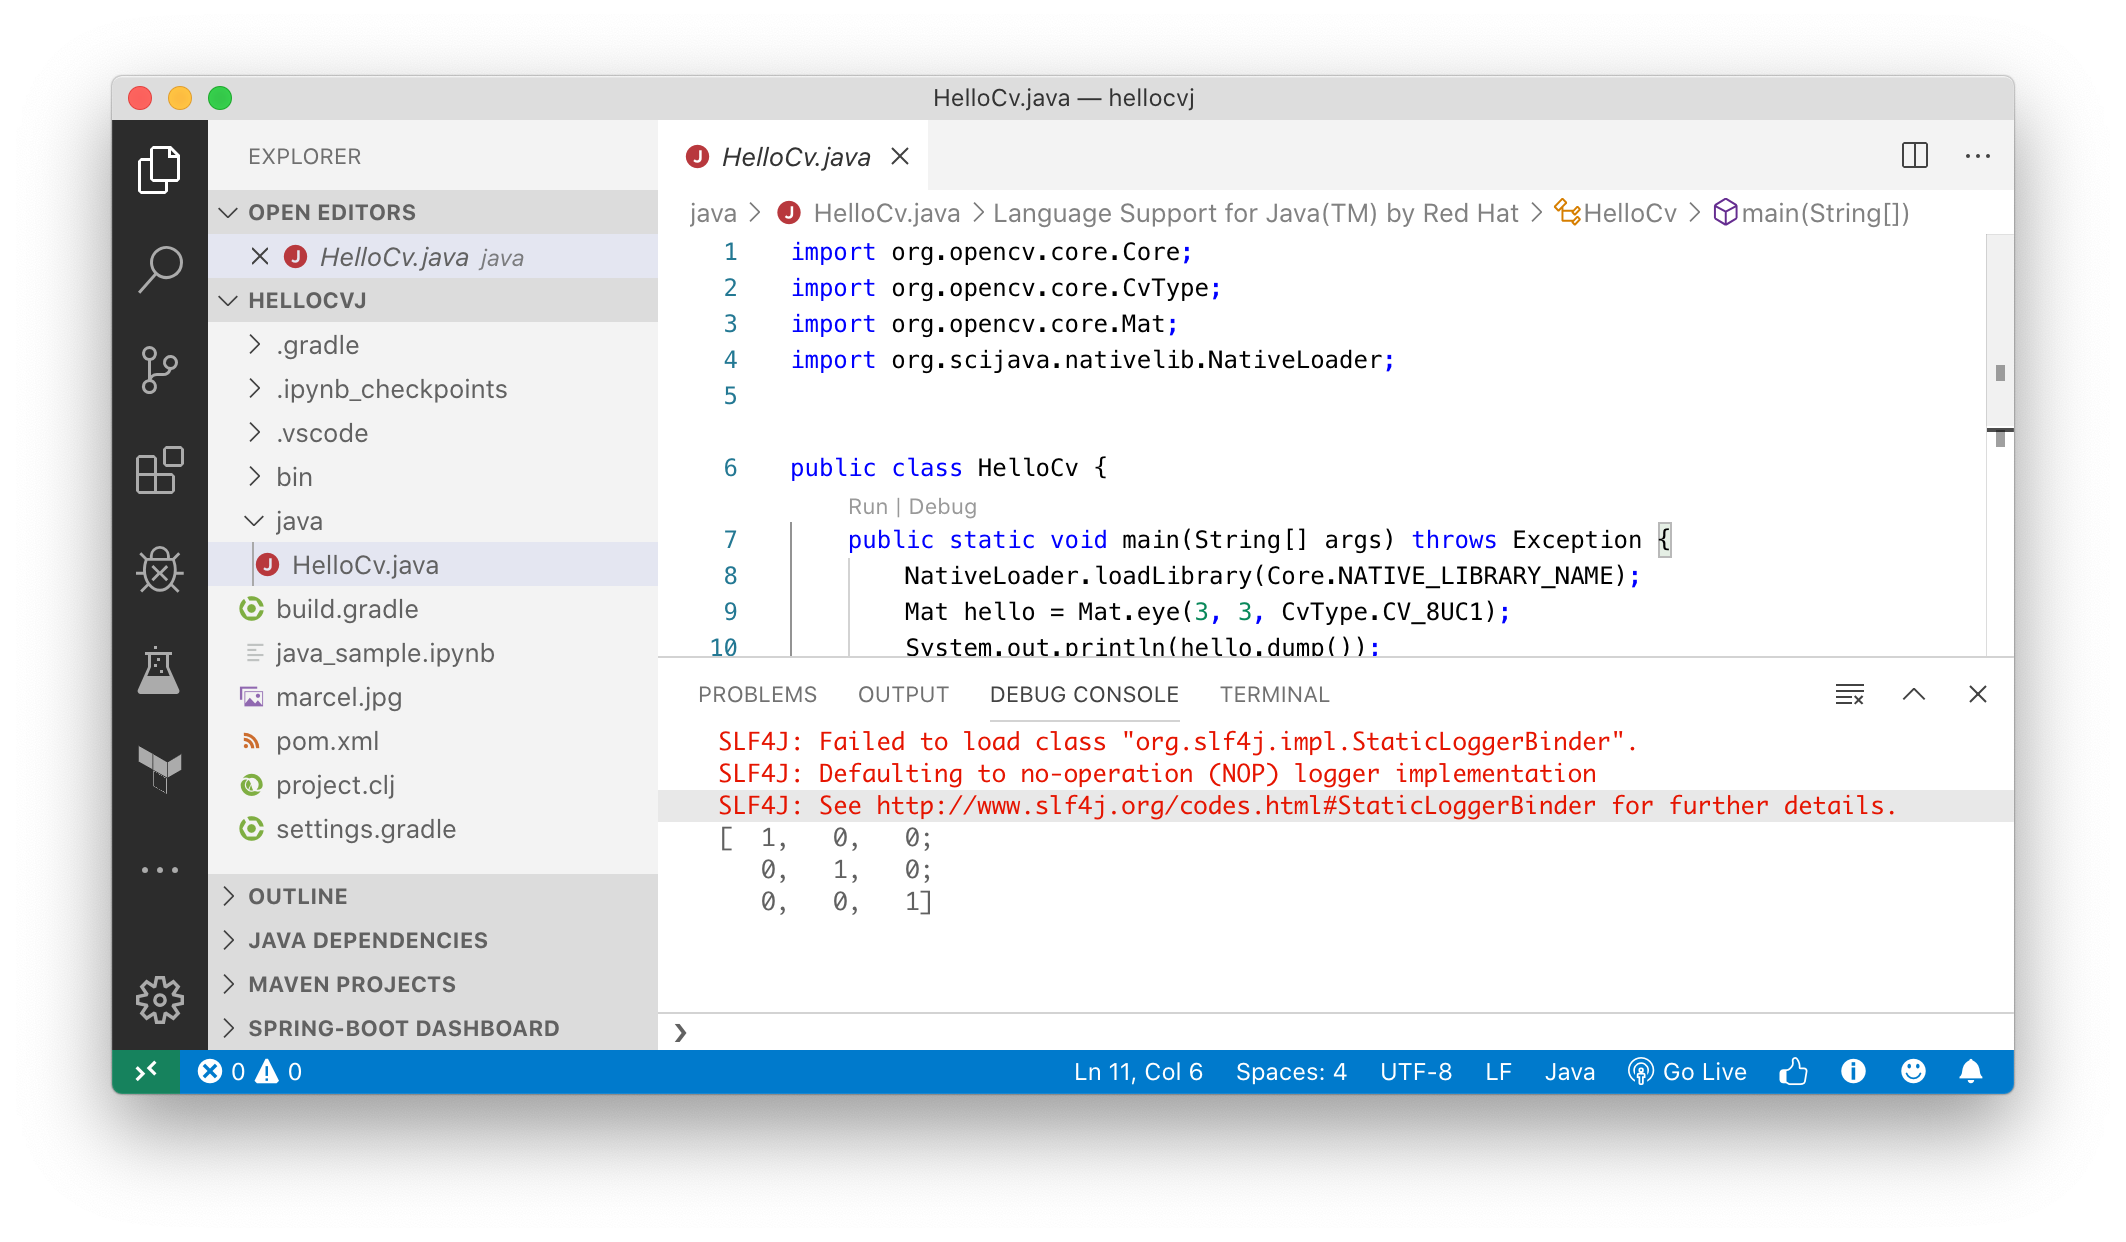
Note that the pom.xml file can be used as is with the Java plugin for VS Code, and the Java based OpenCV code can be run directly. The code for HelloCv.java is show below:
import org.opencv.core.Core;
import org.opencv.core.CvType;
import org.opencv.core.Mat;
import org.scijava.nativelib.NativeLoader;

public class HelloCv {
    public static void main(String[] args) throws Exception {
        NativeLoader.loadLibrary(Core.NATIVE_LIBRARY_NAME);
        Mat hello = Mat.eye(3, 3, CvType.CV_8UC1);
        System.out.println(hello.dump());
    }
}
And the output when running from VS Code is shown in the picture below.
Back to the command line, the same code can be executed using maven, using mvn compile exec:java:
SuperPinkicious:hellocvj niko$ mvn compile exec:java
[INFO] Scanning for projects...
[INFO]
[INFO] ------------------------< jvm-opencv:hellocvj >-------------------------
[INFO] Building hellocvj 0.0.1
[INFO] --------------------------------[ jar ]---------------------------------
[INFO]
[INFO] --- maven-resources-plugin:2.6:resources (default-resources) @ hellocvj ---
[WARNING] Using platform encoding (UTF-8 actually) to copy filtered resources, i.e. build is platform dependent!
[INFO] skip non existing resourceDirectory /Users/niko/origami-land/TEST/hellocvj/resources
[INFO]
[INFO] --- maven-compiler-plugin:3.1:compile (default-compile) @ hellocvj ---
[INFO] Changes detected - recompiling the module!
[WARNING] File encoding has not been set, using platform encoding UTF-8, i.e. build is platform dependent!
[INFO] Compiling 1 source file to /Users/niko/origami-land/TEST/hellocvj/target/classes
[INFO]
[INFO] >>> exec-maven-plugin:1.2.1:java (default-cli) > validate @ hellocvj >>>
[INFO]
[INFO] <<< exec-maven-plugin:1.2.1:java (default-cli) < validate @ hellocvj <<<
[INFO]
[INFO]
[INFO] --- exec-maven-plugin:1.2.1:java (default-cli) @ hellocvj ---
SLF4J: Failed to load class "org.slf4j.impl.StaticLoggerBinder".
SLF4J: Defaulting to no-operation (NOP) logger implementation
SLF4J: See http://www.slf4j.org/codes.html#StaticLoggerBinder for further details.
[  1,   0,   0;
   0,   1,   0;
   0,   0,   1]
[INFO] ------------------------------------------------------------------------
[INFO] BUILD SUCCESS
[INFO] ------------------------------------------------------------------------
[INFO] Total time: 3.022 s
[INFO] Finished at: 2019-08-15T15:23:09+09:00
[INFO] ------------------------------------------------------------------------
or gradle, via gradle run:
$ gradle run
Starting a Gradle Daemon, 1 incompatible Daemon could not be reused, use --status for details

> Task :run
SLF4J: Failed to load class "org.slf4j.impl.StaticLoggerBinder".
SLF4J: Defaulting to no-operation (NOP) logger implementation
SLF4J: See http://www.slf4j.org/codes.html#StaticLoggerBinder for further details.
[  1,   0,   0;
   0,   1,   0;
   0,   0,   1]

BUILD SUCCESSFUL in 7s
2 actionable tasks: 2 executed
If Leiningen is really your thing even when using Java, lein run works too:
$ lein run
OpenJDK 64-Bit Server VM warning: Options -Xverify:none and -noverify were deprecated in JDK 13 and will likely be removed in a future release.
SLF4J: Failed to load class "org.slf4j.impl.StaticLoggerBinder".
SLF4J: Defaulting to no-operation (NOP) logger implementation
SLF4J: See http://www.slf4j.org/codes.html#StaticLoggerBinder for further details.
[  1,   0,   0;
   0,   1,   0;
   0,   0,   1]
But here we are also interested in using a Jupyter notebook to do our OpenCV coding.
Start the notebook server using the usual command within the project root:
jupyter notebook
And a browser tab should open show the content as below:
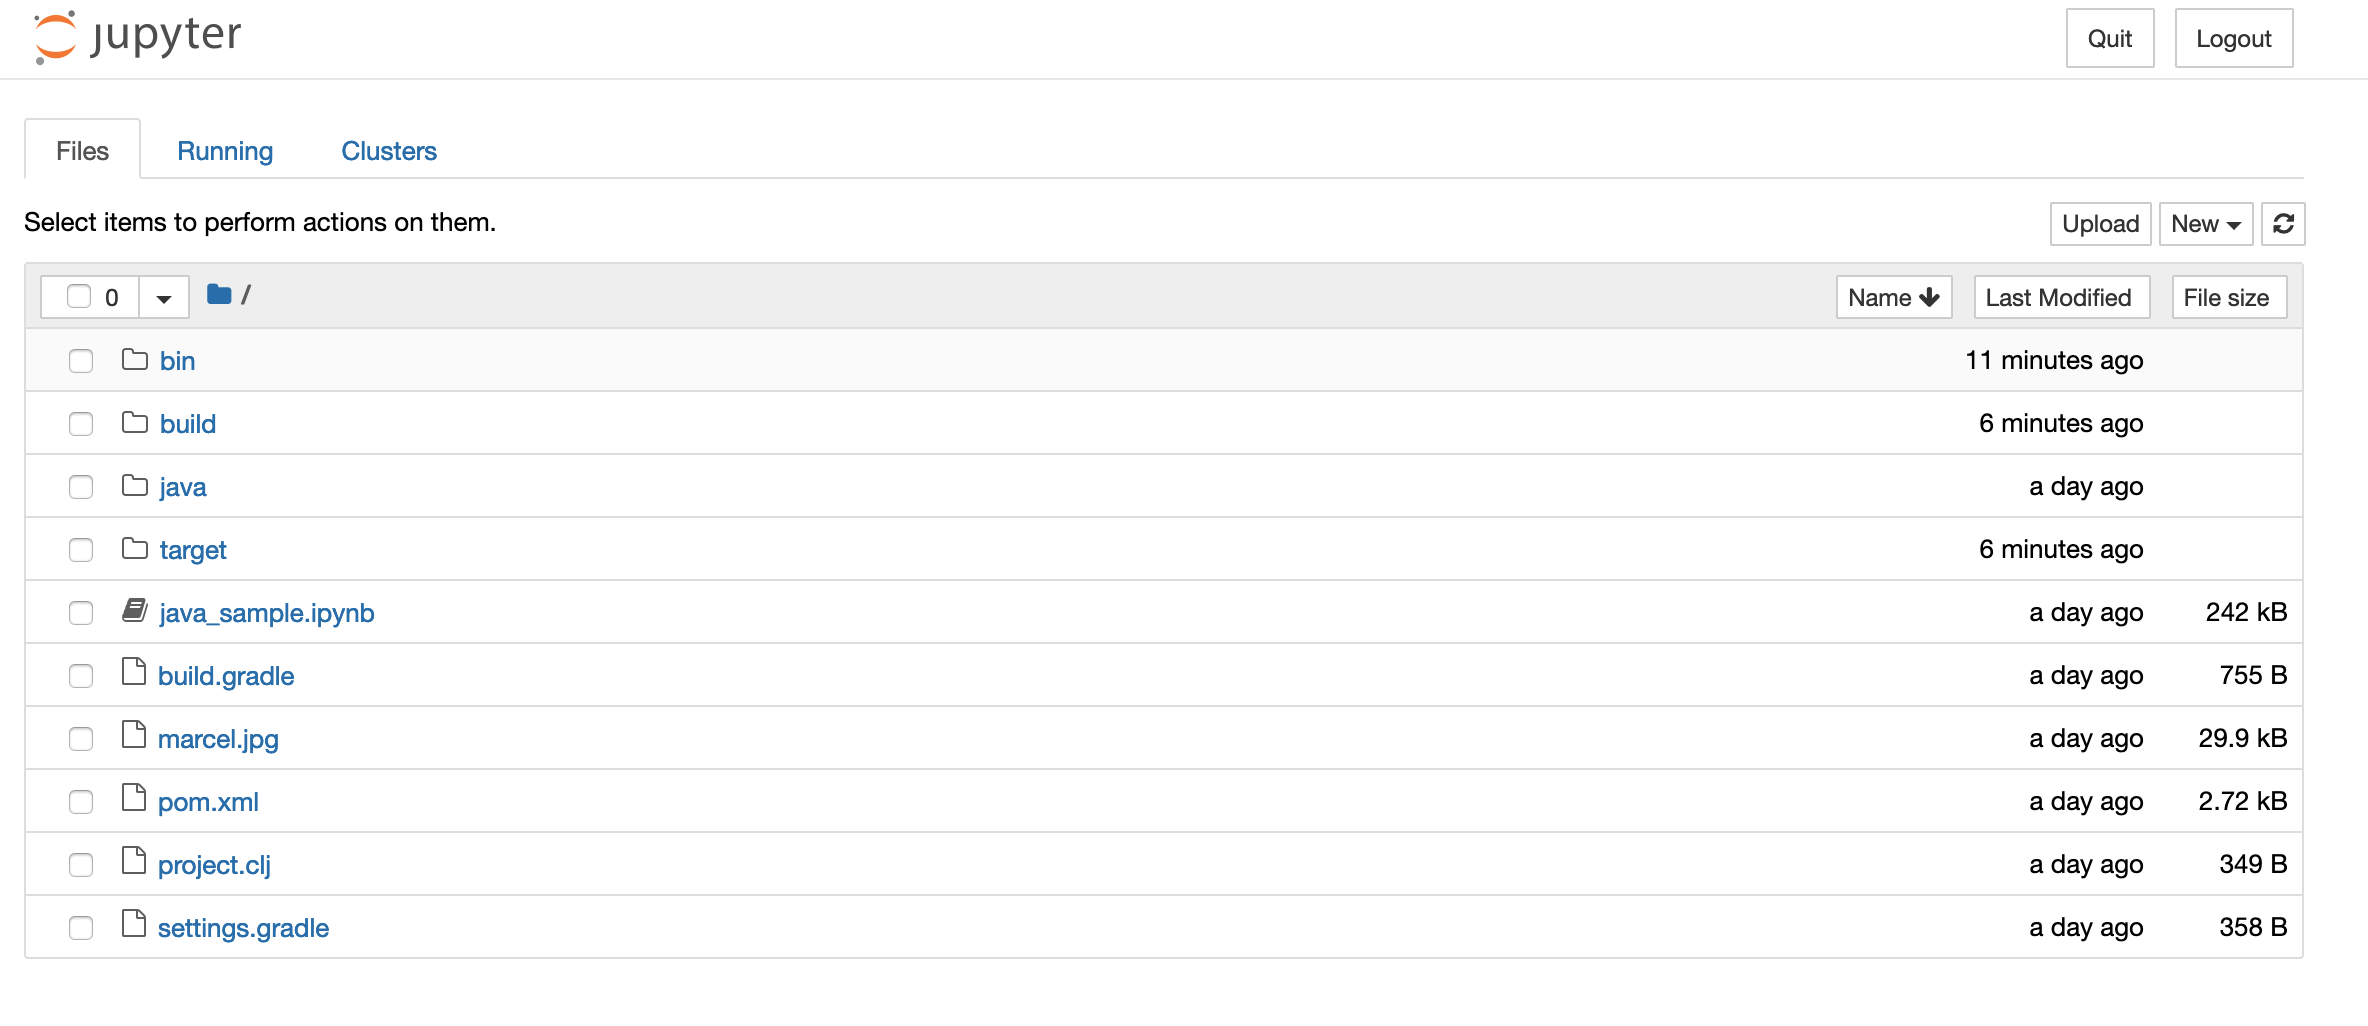
Clicking on the (localhost) link java_sample.ipynb the java notebook opens:
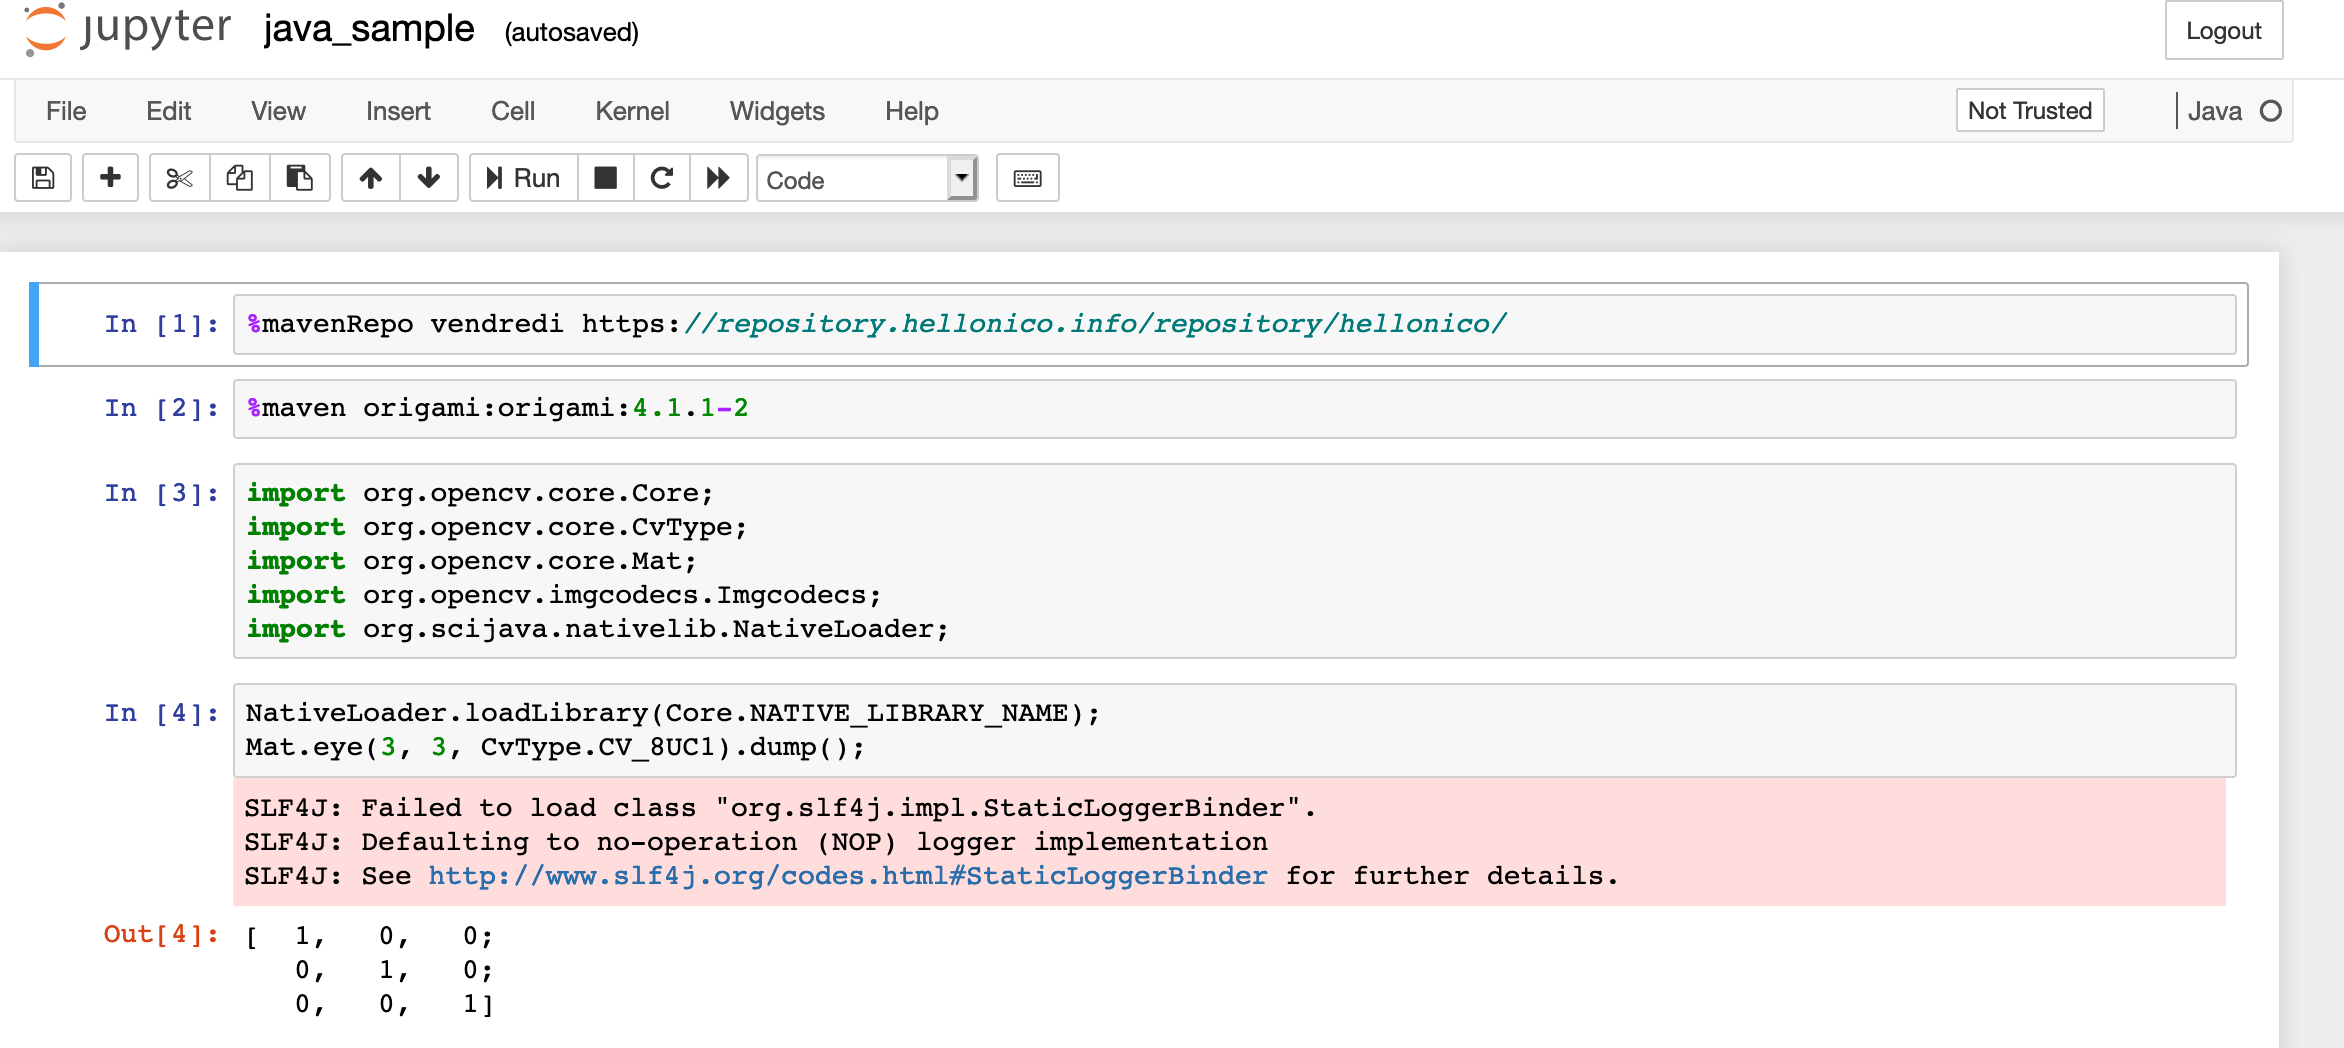
Note that the Java kernel has been selected on the right hand side.
The first two lines are quite important:
%mavenRepo vendredi https://repository.hellonico.info/repository/hellonico/
%maven origami:origami:4.1.1-2
First one, tells maven (used to retrieve dependencies) an extra repository to find dependencies, while the second line, tells maven what that dependency is, here origami:origami:4.1.1-2.
Note that executing the second line is going to be a bit time consuming the first time, because it needs to collect opencv and other dependencies for you.
The first few lines of the sample notebook are a simple copy-paste from HelloCv.java, shown earlier on.
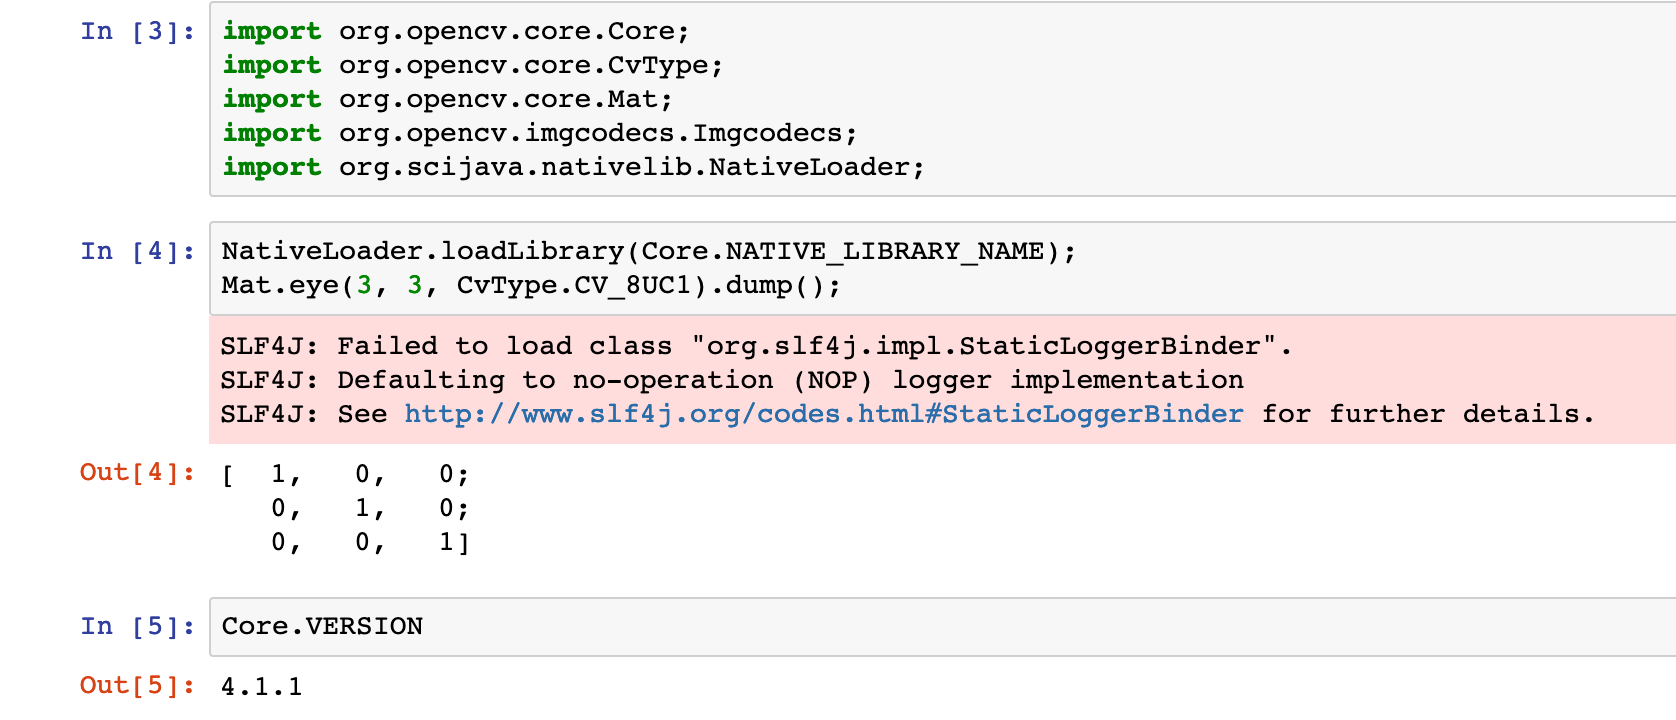
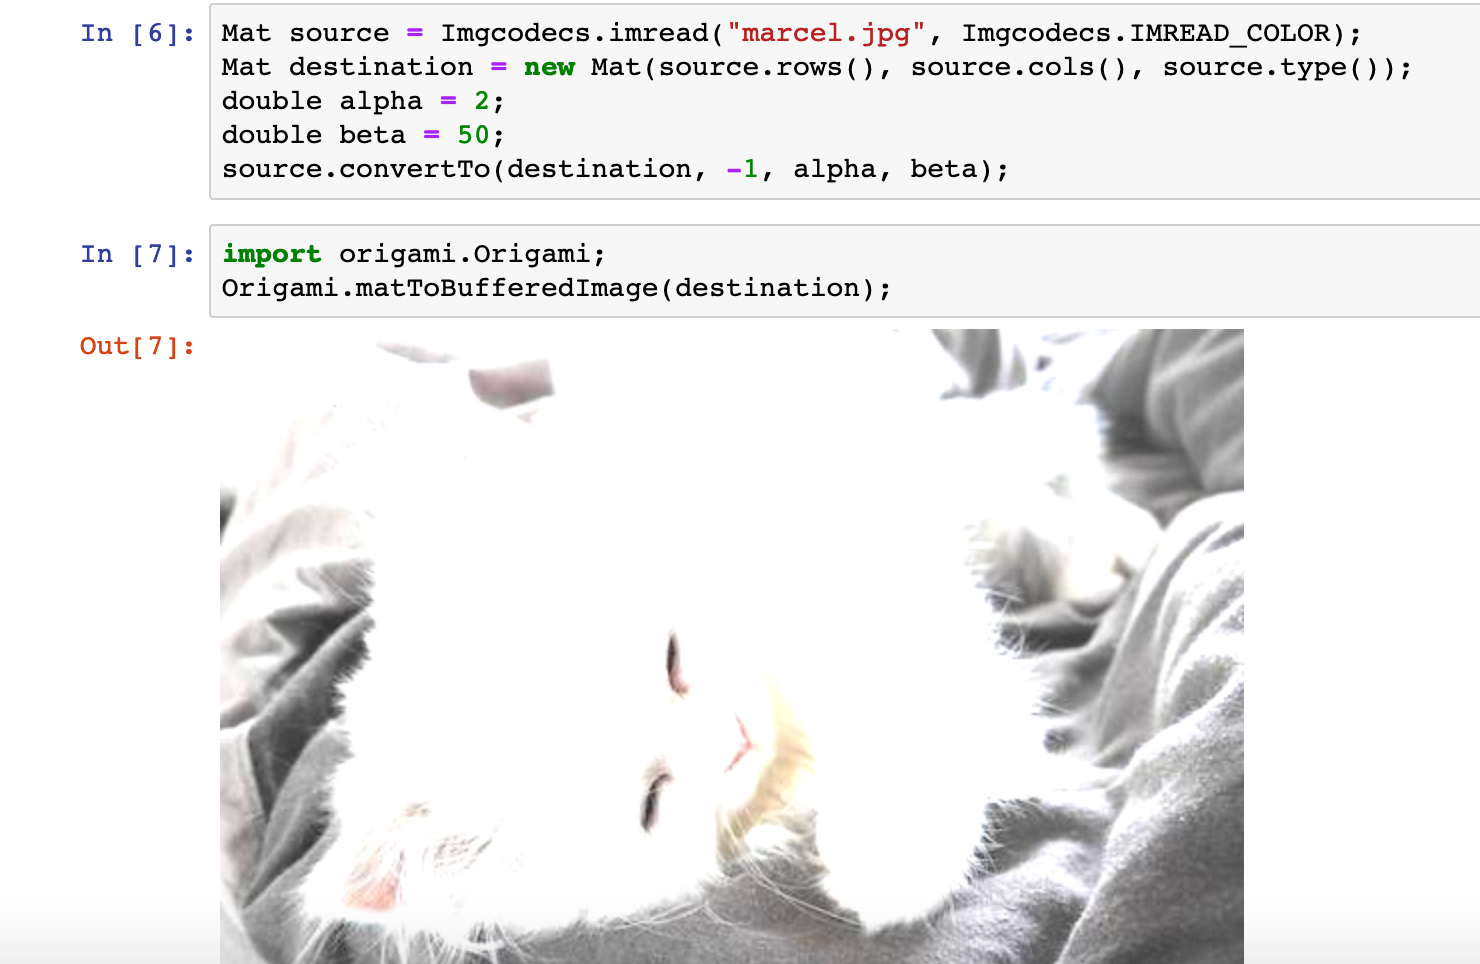
The extra lines at the bottom of the notebook, are showing a simple alpha gamma contrast correction.
Mat source = Imgcodecs.imread("marcel.jpg", Imgcodecs.IMREAD_COLOR);
Mat destination = new Mat(source.rows(), source.cols(), source.type());
double alpha = 2;
double beta = 50;
source.convertTo(destination, -1, alpha, beta);
And two extra lines to show the result inline in the notebook:
import origami.Origami;
Origami.matToBufferedImage(destination);
